
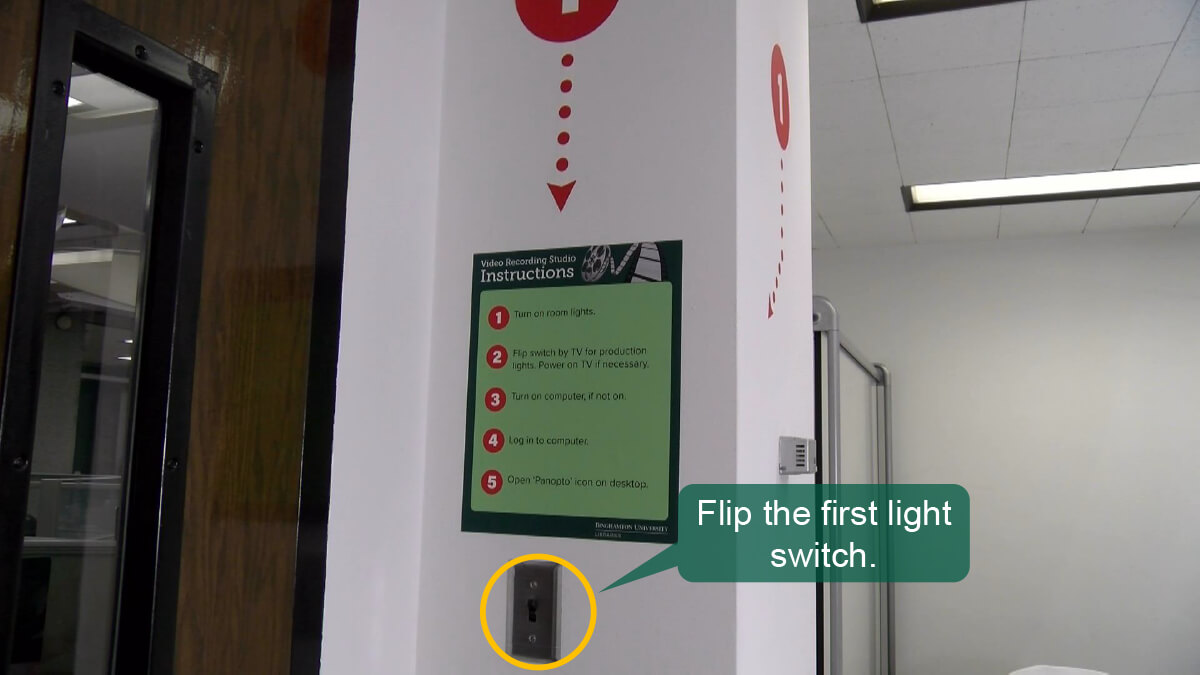
Step 1: Turn on light switch 1
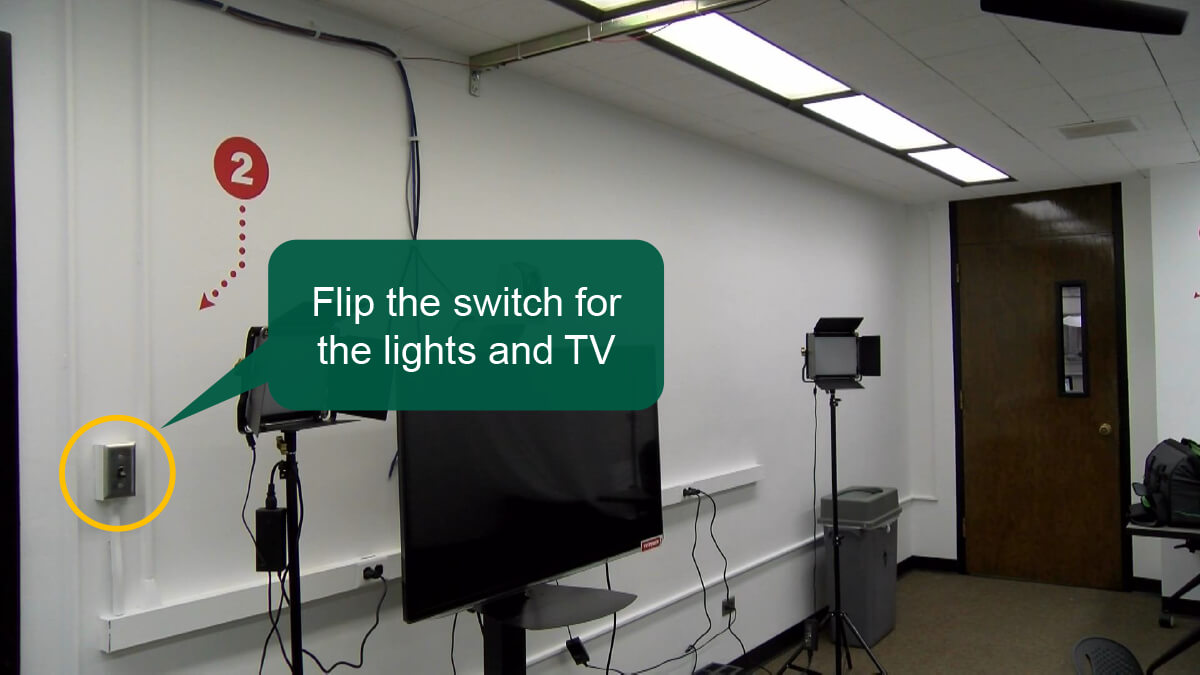
Step 2: Turn on light switch 2

Step 3: Power on the computer
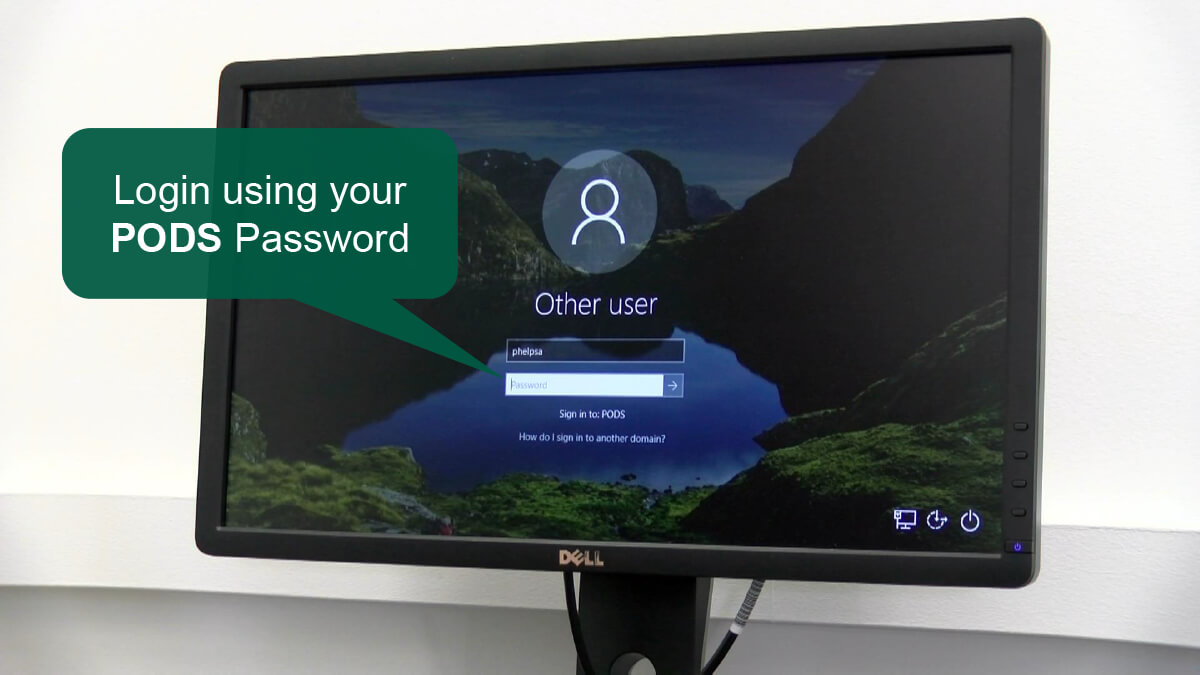
Step 4: Log in with PODS username/password

Step 5: Open Panopto from the desktop
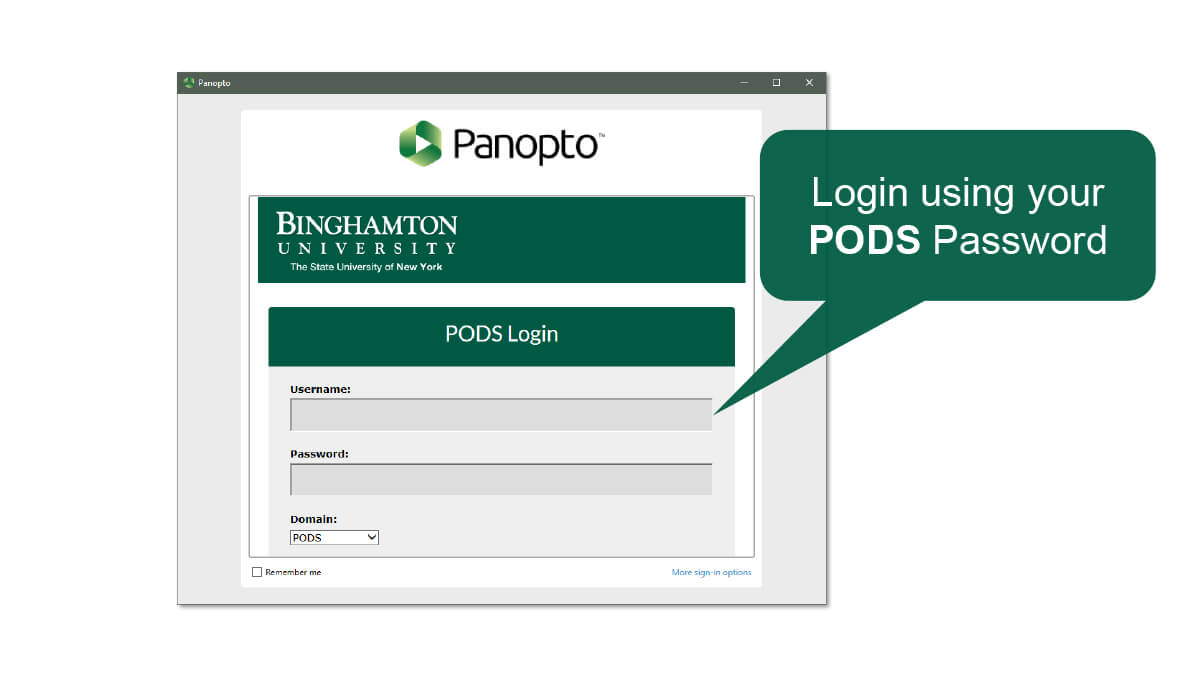
Step 6: Log in with PODS username/password
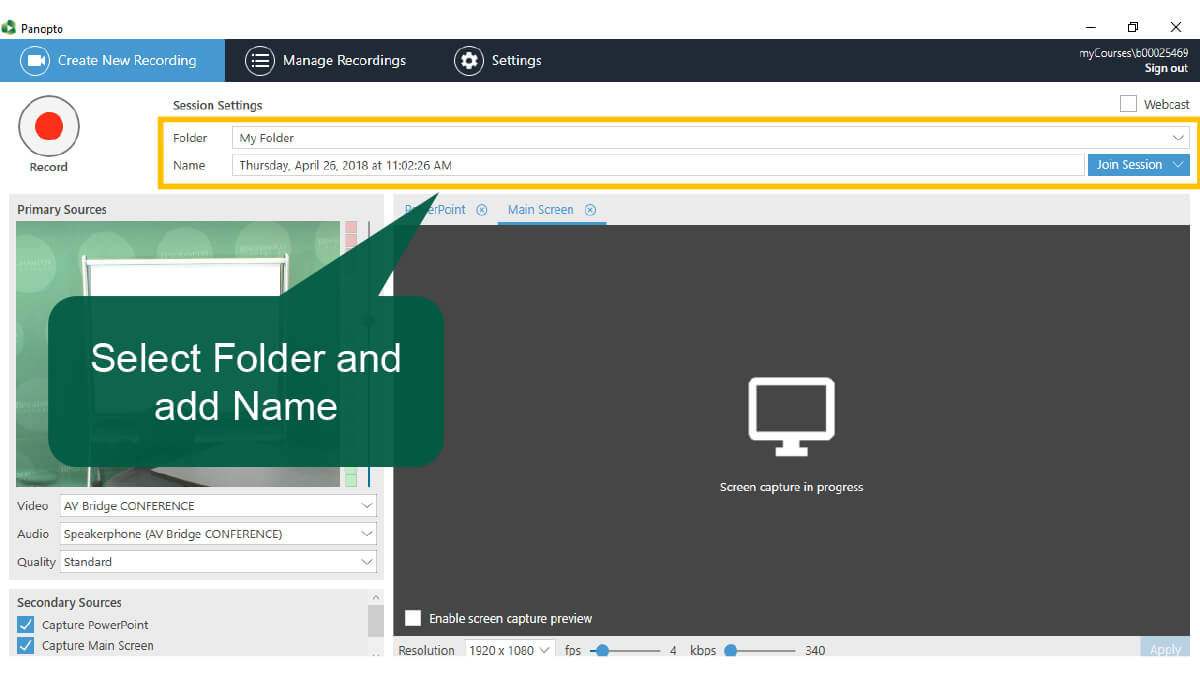
Step 7: Select desired folder
Step 8: Add a name in the NAME tab
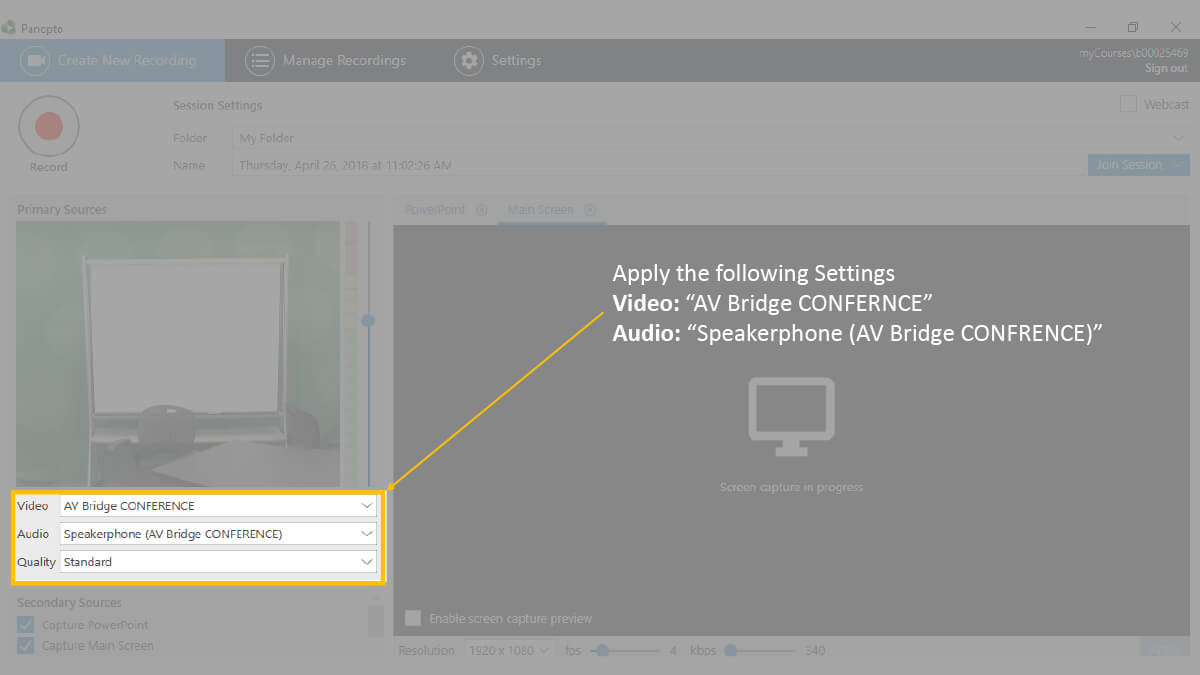
Step 9: Change video to “AV Bridge CONFERENCE”
Step 10: Change Audio to “Speakerphone (AV Bridge CONFERENCE)”
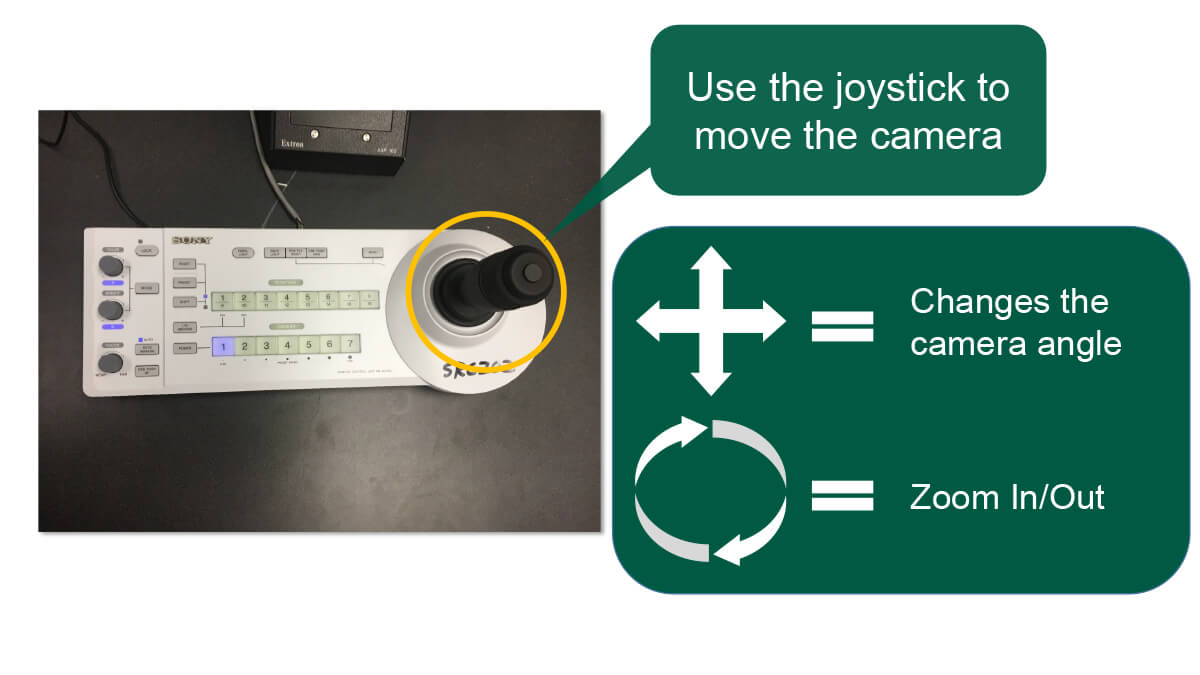
Step 11: Use the Joystick to position the camera correctly.
- Up/Down/Left/Right Changes angle
- Turn the knob changes the zoom

Step 12: Adjust room furniture according to your needs
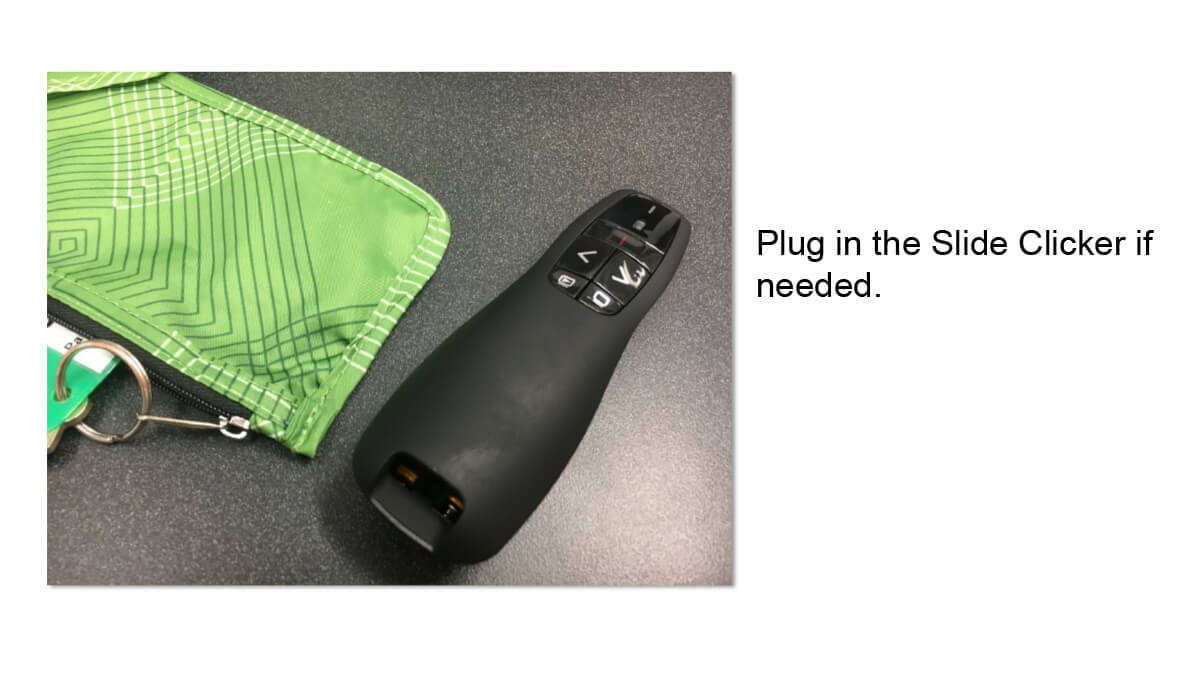
Step 13: Pull slide clicker out of pouch and plug into computer
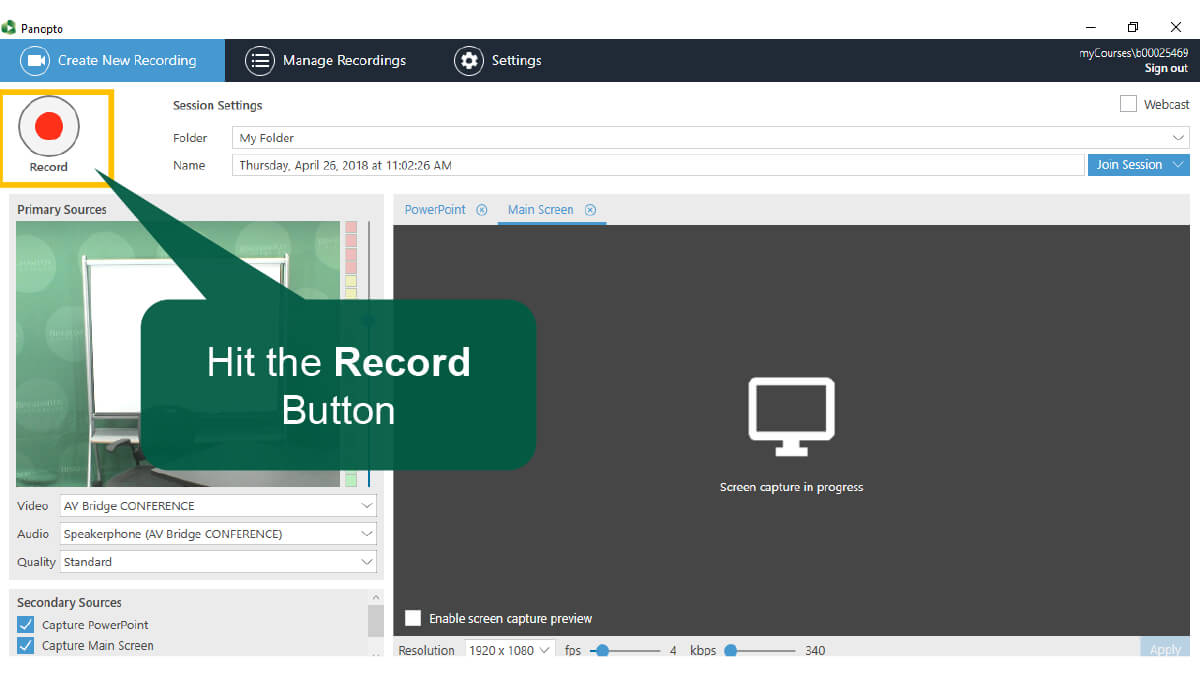
Step 14: When ready, click Record
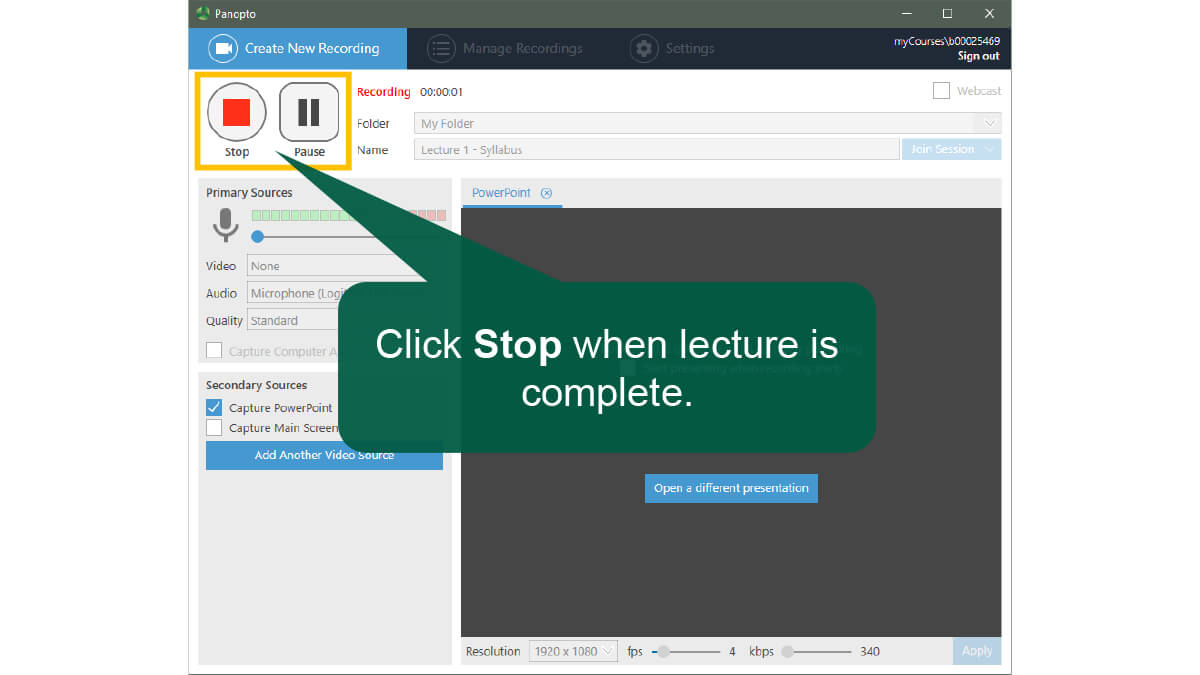
Step 15: When finished, click STOP. (Use PAUSE if you need a break)
Step 16: Click UPLOAD
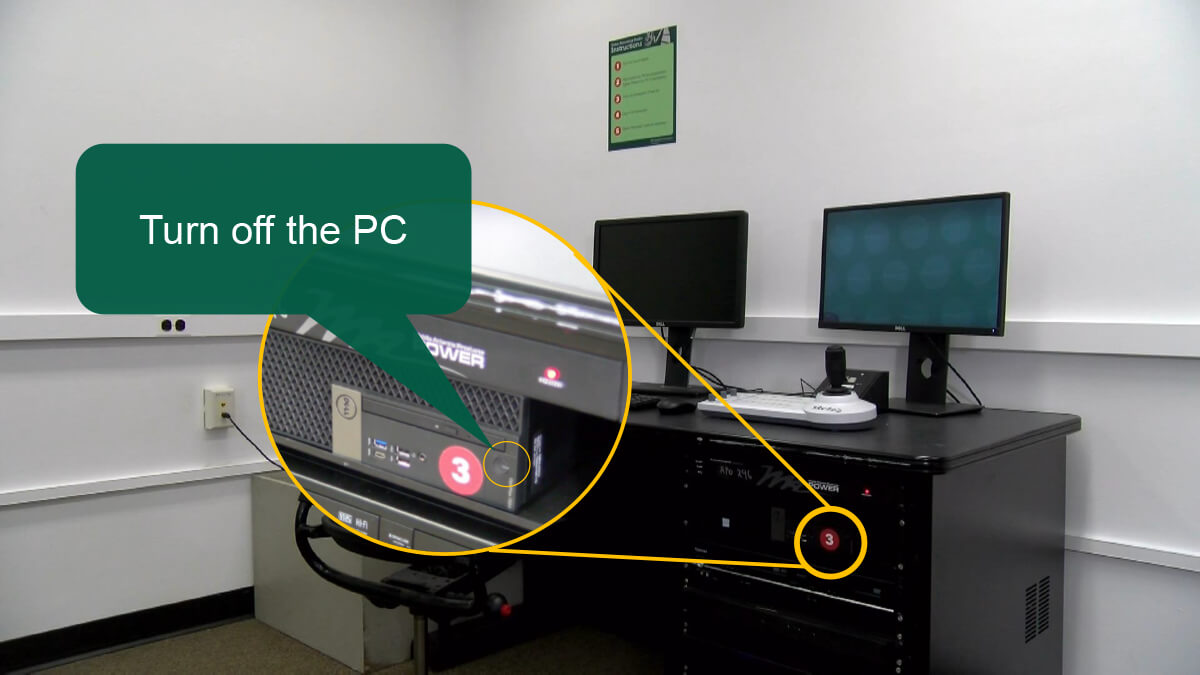
Step 17: When finished uploading, shutdown computer

Step 18: Turn off light switch 2
Step 19: Turn off light switch 1
Step 20: Close the door fully
Step 21: Return the key